Sort'd Merchandiser Automations Explained
Automations are a powerful way of automatically merchandising your collection pages.
Whether you're looking to mix automatic and manual sorting for high value collection pages, provide more impactful performance-driven merchandising or to simply push out of stock products to the bottom - Automations can do it all.
With such a powerful feature, it can take a little time to figure out what works best for your store. This guide will cover how to create Automations as well as give recommendations on how to maximise its potential for your collections.
Automations Overview
Automation splits your collection page into multiple sections of products.
Select which products to show in each of these sections, how they should be sorted and whether they should be at top or bottom of the collection.
Creating an Automation
Getting Started
First give your Automation a name and then select the collections the Automation should run on.
All collections added must be set as sorted "manually", so that the Automation can make the necessary sort changes. Any collection added that is not sorted manually will be updated to a manual sort order for you by the Automation.
The number of collections you can add depend on your plan.
Don't forget to "enable" the Automation when you're ready for it to go live.
Automation Schedule
Automations run up to 6 times a day (depending on your plan). You can see when the last Automation was ran and how long until the next one in the Automations main page.
The Automation schedule will run even if you have no Automations enabled. While it will make no changes, you will need to wait for the next Automation run if you enable an Automation in the meantime.
Creating Sections: Adding Products
Automations work in sections, so let's create our first section.
Let's pretend we are creating an Automation for a high value "new in" collection.
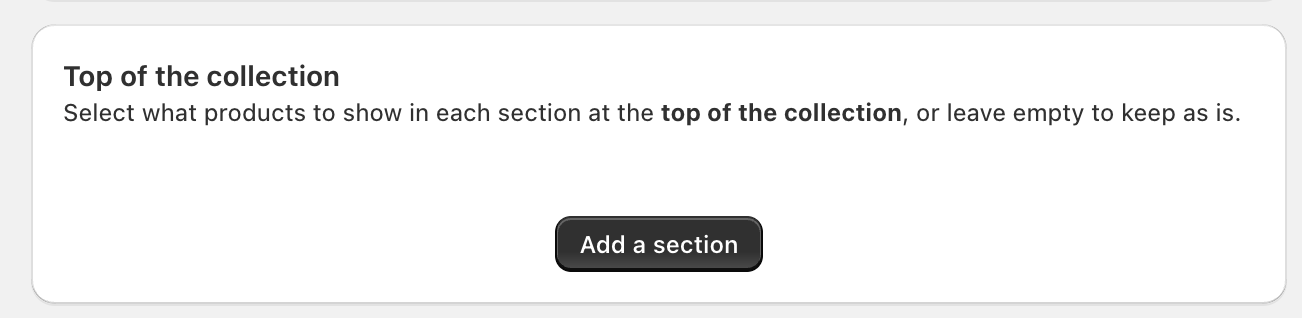
At the Top of the Collection, we can create a new section. This can be done by clicking 'Add a section'.
Next we must choose what products will go into this section. This is done using "rules", we can use preset built rules (for Premium users) or by creating our own. As this is a "new in" collection, let's select new products in this section.
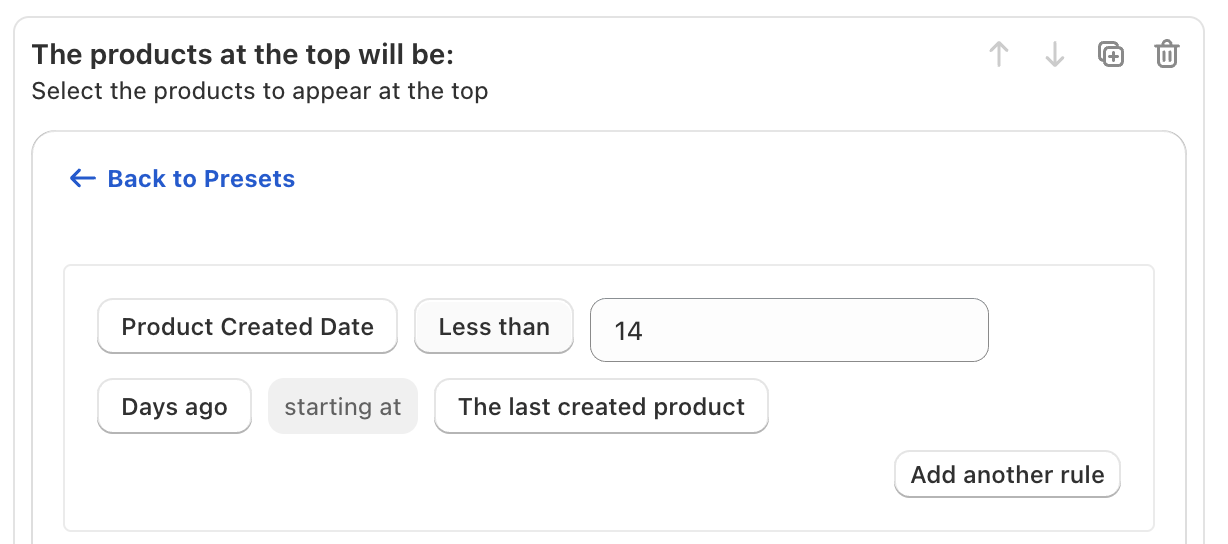
We can add as many rules as necessary (using 'Add another rule') to filter down to the appropriate products for this section.
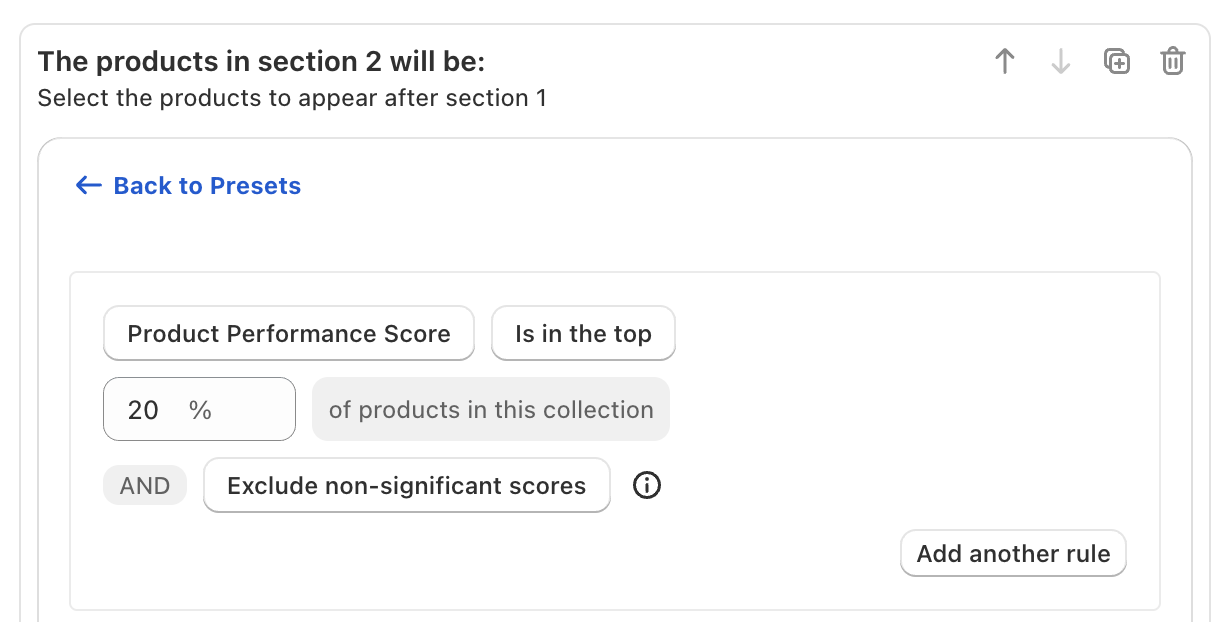
Now let's add a section at directly below it, this will be for well-performing products. For this, we will use Collection Merchandiser's Performance Scores. This section selects the top 20% of products in this collection.
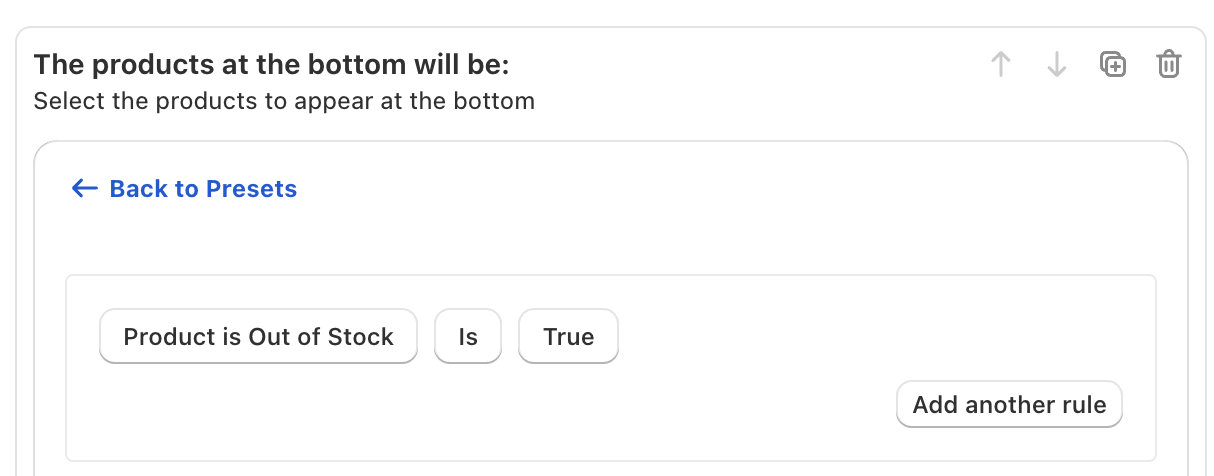
Now, let's move to the Bottom of the Collection. Let's add a rule to move all out of stock products to the bottom.
Now this is complete, when the Automation runs, products will be placed as follows:
- All out of stock products moved to the bottom (Bottom Section 1)
- Then all new in products moved to the top (Top Section 1)
- Then all well-performing products moved directly under Top Section 1 (Top Section 2)
Automations run from the bottom first, if a product matches the rules in both a bottom and top section - it will be placed at the bottom section.
You can change this to be as simple or advanced as you like, incorporating any product, variant or performance metrics.
Any products not in those sections with go into the Products in between section.
You can leave either or both Top of the Collection and Bottom of the Collection blank if you wish.
Creating Sections: Sorting Products
Within each section, you can choose to sort the products (for Premium users). So for example, in our Top Section 1 (which contains all new in products), you may wish to sort these by newest to oldest, best to worst selling, most to least stock, etc.
This can be done by selecting 'Sort these products by' and then the relevant option.

If you wish to manually merchandise this section, you can select 'leave products in their current order'. Any manual sorting you do to products in this section (using the Drag and Drop Merchandiser) will be maintained (unless a product is added or removed from this section).
You can also choose to sort the products in the Products in between section.
Creating Sections: Grouping Products into Rows
If you'd like to visually merchandise these sections, ensuring certain products stay together on a row, you can use "Product Groups".
By selecting 'Try to group products into rows of' and your preferred row number, the Automation will adjust the order of this section and try to ensure products of the same "group" are on a row together.

Adding products into groups can be done in the Drag and Drop Merchandiser, full instructions can be found here.
Creating Sections: Pinning Products
An Automation may make a number of sort changes, however there may be products you wish to be in a specific position regardless of the rules you've set up. For example, in our example Automation we placed all new in products at the Top of the Collection, although there may be 4 products you want to stay right at the top of the collection - even though they are not new.
For this, you can either use another section to select them (e.g. a new Section first in the Top of the Collection section for products with a specific 'product tag' these products have), or you can use 'Product Pins'.
Pinned products stay in the position you've saved them, they won't change this position even if the Automation rules would have moved them.
How to to Add Product Pins
To add a product pin, go to the relevant collection in the Drag and Drop Merchandiser. Click to select these specific products (in our example, the first 4).
You can multi-select (i.e. click the first product and then hold down the shift key ⇧ and click the second) to select multiple products at once.
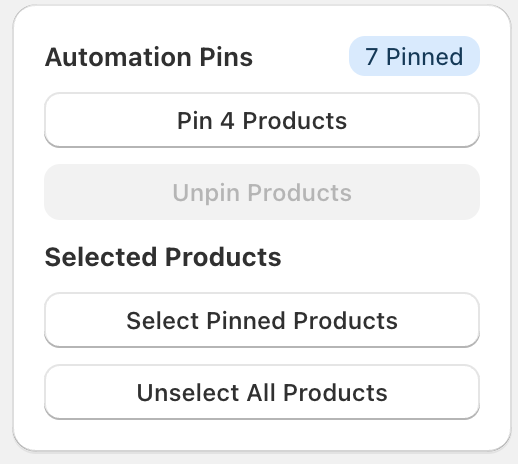
Then in the bottom of the right hand menu, click 'Pin x Products'. Then move them to where you want them pinned (e.g. all 4 at the top) and then click Save.
This is specific to this collection, so it can be repeated or changed in all other collections your Automation will run on.
Now, when the Automation runs, these 4 pinned products at the top will not move, no matter the rules you have set up.
If you have pinned products in a collection, but you do not wish your Automation to keep them in their pinned position, you can choose to "Ignore Pinned Products" in the Automation Options.
Recommendations
With Automations, we usually recommend the following:
- With such a wealth of features, it can take a little time to work out what works best for your store. We suggest making a small Automation on one or two test collections and then making adjustments until you're happy to include larger collections
- Many merchants use Automations for longer laborious task, e.g. demoting out of stock, few sizes available products, etc. and then using manual merchandising for the rest of the collection. Some merchants use Automations for their total merchandising, making full use of performance metrics. Some merchants do not use Automations at all (instead of using Smart Sort in the Drag and Drop Merchandiser - a similar rule based tool to help sort manually). Finding what works best for your store and collections is key.
- You can see the results of your Automations in the Automation Results page, here you'll see which products were placed in which section.
- We don't recommend adding the same collection in multiple Automations, as changes can be overridden by the last ran Automation.
- Our support team are always on hand with recommendations and to provide assistance with Automations. Make full use of their insight by getting in touch.